
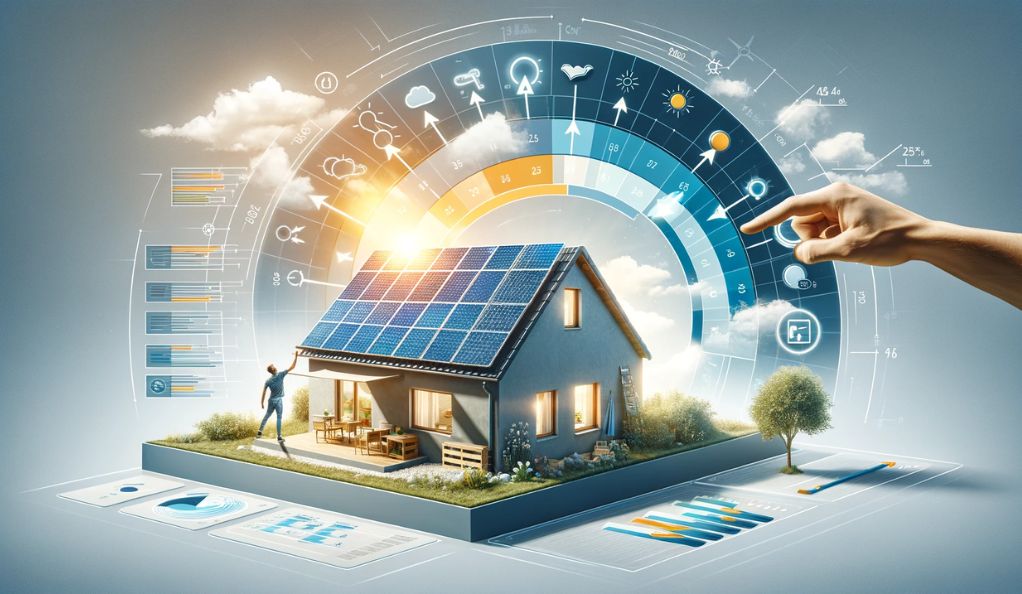
Introduction to DIY Solar Panels
The surge in interest in renewable energy solutions has brought solar panels to the forefront of eco-friendly home improvement projects. With growing concerns over energy costs and environmental impact, many homeowners are turning to solar energy as a sustainable and cost-effective option. This has led to an increased interest in do-it-yourself (DIY) solar panel installations.
The Rise of DIY Solar Installations
DIY solar panel installation offers a unique opportunity for homeowners to take control of their energy production. This approach not only can lead to significant cost savings but also provides a deeper understanding of the energy needs and capabilities of one’s home. With advancements in solar technology, the process of installing solar panels has become more accessible to the average homeowner. The availability of comprehensive kits and user-friendly tools has further simplified the process, making it an attractive project for those inclined towards hands-on home improvements.
Can I Install Solar Panels Myself?
A common question that arises when considering DIY solar projects is: “Can I install solar panels myself?” The answer is a cautious yes, but with some important caveats. Installing solar panels requires a certain level of technical know-how, physical ability, and an understanding of local building codes and regulations.
- Technical Know-How: The installation involves electrical work, understanding solar panel efficiency, and safely mounting panels. It’s crucial to have a basic grasp of these concepts to ensure a safe and effective installation.
- Physical Ability: The installation process can be physically demanding, often requiring work at heights and the lifting of heavy equipment.
- Local Building Codes and Regulations: Every region has its own set of rules and standards for solar panel installations. Familiarity with these is essential to ensure your system is legally compliant and eligible for any potential incentives or rebates.
Understanding Solar Panel Types
In the world of DIY solar panel projects, understanding the different types of solar panels is crucial for making an informed decision. Let’s explore the three primary types: monocrystalline, polycrystalline, and thin-film.
Monocrystalline Solar Panels
Monocrystalline solar panels are known for their high efficiency, often exceeding 20%. This makes them particularly suitable for areas with limited space, as they can generate more power per square foot. They are also characterized by their long lifespan, often coming with warranties of up to 25 years and potentially lasting up to 40 years. However, these advantages come at a higher cost compared to other types. Additionally, their manufacturing process involves cutting cylindrical silicon crystals, which can lead to material wastage.
Polycrystalline Solar Panels
Polycrystalline solar panels, on the other hand, are more budget-friendly. They have a simpler manufacturing process that results in less waste, making them a more eco-friendly option. However, this cost-effectiveness comes with a trade-off in efficiency. These panels typically have efficiency rates between 14-16%, meaning they need more space to produce the same amount of power as monocrystalline panels. They also have a distinctive blue, speckled appearance, which might not be as aesthetically pleasing to some as the sleek, black look of monocrystalline panels.
Thin-Film Solar Panels
Finally, thin-film solar panels offer a unique set of advantages. They are flexible and lightweight, which makes them adaptable to various surfaces, including unconventional ones. This type is generally the cheapest in terms of the cost per watt of solar energy produced. However, their efficiency is on the lower end, typically ranging from 10-18%. This lower efficiency means they require more space to generate the same amount of electricity as crystalline panels. They also tend to have a shorter lifespan compared to monocrystalline and polycrystalline panels.
Evaluating Solar Panel Efficiency
When it comes to selecting the right solar panels for your DIY project, understanding efficiency is paramount. Efficiency measures how effectively a solar panel converts sunlight into electricity. It directly impacts the amount of energy your system can generate and the space required for installation.
What Is Solar Panel Efficiency?
Solar panel efficiency is expressed as a percentage and indicates the portion of sunlight that a panel can convert into usable electricity. For example, if a panel has an efficiency rating of 20%, it can convert 20% of the sunlight it receives into electrical power. The higher the efficiency, the more electricity a panel can produce for a given amount of sunlight.
Factors Affecting Efficiency
Several factors influence the efficiency of solar panels:
- Type of Solar Cells: Monocrystalline panels tend to have higher efficiency rates compared to polycrystalline and thin-film panels.
- Temperature: Solar panels can become less efficient as they get hotter. Efficient cooling mechanisms or proper panel placement can mitigate this.
- Angle and Orientation: The angle at which panels are installed and their orientation towards the sun affect efficiency. Optimizing these factors can significantly impact energy production.
- Dust and Shade: Dust and shade on the panels reduce their exposure to sunlight, decreasing efficiency. Regular cleaning and ensuring panels are not shaded can help maintain efficiency.
- Age and Degradation: Over time, solar panels may degrade, resulting in reduced efficiency. High-quality panels often come with degradation rates of 0.5% to 1% per year after the first year.
Understanding the Efficiency Rating
Efficiency ratings vary among different solar panel models. Here’s what you need to know:
- High-Efficiency Panels: These panels typically have efficiency rates above 20%, making them suitable for small roof spaces where maximizing power generation is crucial.
- Moderate-Efficiency Panels: Efficiency rates in the range of 14% to 16% are common for polycrystalline panels. While they are less efficient, they are cost-effective and can be a good choice for those with budget constraints.
- Low-Efficiency Panels: Thin-film panels often fall in the 10% to 18% efficiency range. They are less efficient but are flexible and lightweight, making them suitable for unique installations.
Calculating Energy Output
Understanding efficiency is essential for calculating your solar system’s energy output. You can estimate your system’s energy production using the following formula:
Energy Output (kWh/year)=Panel Efficiency×Panel Area (m²)×Solar Irradiance (kWh/m²/year)
- Panel Efficiency: The efficiency rating of your chosen solar panels.
- Panel Area: The total surface area covered by the panels.
- Solar Irradiance: The amount of sunlight your location receives per year, typically measured in kilowatt-hours per square meter per year (kWh/m²/year).
Cost Analysis: Saving on DIY Installation
Understanding the costs associated with your DIY solar panel project is essential for budget planning. Here’s a breakdown of the expenses to consider:
Solar Panels: The cost of solar panels is a significant portion of your overall expenses. The type of panels you choose, whether monocrystalline, polycrystalline, or thin-film, directly impacts the price.
Inverter: Solar inverters are vital for converting the DC electricity generated by your panels into AC electricity for household use. The type and quality of the inverter affect its cost.
Mounting Hardware: Securely mounting your panels to the roof or ground requires mounting hardware. The cost depends on the type of mounting system and installation complexity.
Wiring and Electrical Components: Proper wiring and electrical components are critical for a safe and efficient solar system. This includes cables, connectors, and other electrical materials.
Labor: While DIY installations save on labor costs, you may still need to hire professionals, such as electricians or roofing contractors, for specific tasks like connecting the system to your home’s electrical grid.
Permits and Inspections: Obtaining permits and scheduling inspections with local authorities is necessary for compliance with building codes and regulations, and there may be associated fees.
The primary advantage of a DIY solar panel installation is the potential for cost savings. By eliminating professional labor costs and customizing the system to your specific needs and budget, you can optimize expenses. Additionally, exploring available tax credits, rebates, and incentives in your area can further reduce the overall cost of your solar project. To estimate your project’s costs, calculate the system size, select suitable panels, evaluate additional expenses, account for labor and permits, and consider available incentives.
Solar System Sizing: Calculating Your Needs
Determining the right size for your DIY solar panel system is a critical step in ensuring it meets your energy requirements and goals. An accurately sized system will optimize energy production and maximize your return on investment. Here’s a step-by-step guide to help you calculate the appropriate size for your solar system.
Step 1: Assess Your Energy Consumption
Begin by assessing your household’s energy consumption. Review your utility bills to determine your average monthly and annual energy usage in kilowatt-hours (kWh). Consider seasonal variations in energy consumption.
Step 2: Set Your Energy Goals
Determine your energy goals. Are you aiming to offset a specific percentage of your energy usage, achieve complete energy independence, or simply reduce your electricity bills? Your goals will influence the size of the system you need.
Step 3: Calculate Daily Energy Production
To estimate your daily energy production, use the following formula:
Daily Energy Production (kWh)=365 daysAnnual Energy Consumption (kWh)
This calculation provides an approximation of the daily energy your solar system should generate to meet your annual energy needs.
Step 4: Account for Sunlight Hours
The amount of sunlight your location receives varies throughout the year. To determine the number of sunlight hours per day, you can refer to solar insolation maps or use online solar calculators. Multiply your daily energy production by the average sunlight hours per day to adjust your system size accordingly.
Step 5: Factor in System Efficiency
Solar panels are not 100% efficient. They convert a percentage of sunlight into electricity. Consider the efficiency rating of your chosen panels and adjust the system size based on this factor. The formula is:
Required System Size (kW)=Panel Efficiency×Sunlight Hours per DayDaily Energy Production (kWh)
Step 6: Include a Buffer
It’s advisable to include a buffer in your system size to account for potential variations in energy production due to factors like weather and panel degradation. Adding 10-20% to your calculated system size is a common practice.
Step 7: Consult a Professional
While DIY installations are feasible, it’s a good idea to consult with a solar professional or use online solar calculators to fine-tune your system size calculation. They can provide insights into specific panel and inverter options that align with your requirements.
DIY Solar Panel Installation: Practical Steps
Now that you’ve determined the size and type of solar panels for your DIY project, it’s time to delve into the practical aspects of installation. Installing solar panels yourself can be a rewarding endeavor, but it requires careful planning and adherence to safety measures. Here are the key steps to guide you through the process:
Step 1: Obtain Necessary Permits
Before starting the installation, check with your local authorities to determine the permits required for your solar panel project. These permits typically include electrical and building permits. Complying with local regulations is essential to ensure the safety and legality of your installation.
Step 2: Assess Your Roof
Evaluate the condition and suitability of your roof for solar panel installation. Ensure that the roof is structurally sound and can support the weight of the panels. Consider the roof’s orientation and angle to maximize sunlight exposure.
Step 3: Install Mounting Hardware
Mounting hardware is used to secure the solar panels to your roof or ground. Follow the manufacturer’s instructions and guidelines for proper installation. Ensure that the mounting system is securely anchored to prevent any movement or damage.
Step 4: Connect the Wiring
Carefully connect the wiring from the solar panels to the inverter. Ensure that the wiring is correctly routed and protected against environmental factors. It’s crucial to follow electrical safety practices during this step.
Step 5: Install the Inverter
Position the inverter in a well-ventilated area, preferably indoors. Connect the inverter to your electrical panel following safety protocols and guidelines. The inverter is a critical component responsible for converting DC electricity from the panels into AC electricity for use in your home.
Step 6: Perform System Testing
After completing the physical installation, perform system testing to ensure everything is functioning correctly. Check for any wiring or connection issues, and monitor the system’s performance to verify that it is generating electricity as expected.
Step 7: Connect to the Electrical Grid
If you plan to remain connected to the electrical grid, you’ll need to coordinate with your utility company to connect your solar system to the grid. This step often involves inspections and approvals to ensure compliance with safety and regulatory standards.
Step 8: Monitor and Maintain
Regularly monitor the performance of your solar panel system and conduct routine maintenance. Cleaning the panels, checking for any damage, and ensuring proper electrical connections are essential to maximize efficiency and longevity.
Step 9: Consider Professional Assistance
While DIY installation is feasible, certain aspects, such as electrical work and grid connection, may require professional assistance. It’s essential to prioritize safety and compliance with local codes and regulations.
Can I Install Solar Panels Myself?
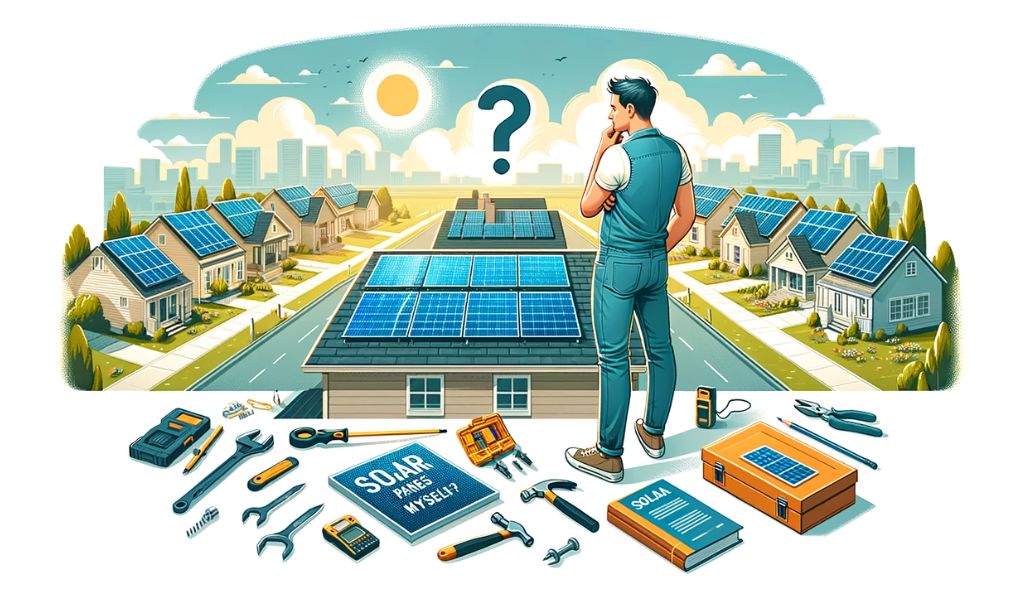
A common question among DIY enthusiasts and environmentally conscious homeowners is whether they can install solar panels themselves. The answer is a qualified yes. While it’s possible to undertake a DIY solar panel installation, several factors need consideration:
- Skill and Experience
Installing solar panels involves electrical work, structural assessments, and compliance with building codes. While many aspects of the installation can be learned, having prior experience in electrical work and construction can be beneficial. If you lack these skills, it’s advisable to seek professional assistance for certain tasks. - Safety
Safety should be a top priority during a solar panel installation. Working with electricity and mounting heavy panels on roofs can be hazardous. Proper safety measures, including personal protective equipment, secure ladders, and fall protection, must be in place. - Permits and Regulations
DIY installers are responsible for obtaining the necessary permits and complying with local regulations. Failure to do so can result in legal issues and safety hazards. It’s essential to research and adhere to all permit requirements. - Equipment and Tools
Solar panel installation requires specialized equipment and tools, including inverters, mounting hardware, wiring, and electrical components. Ensuring you have the right equipment is crucial for a successful installation. - Grid Connection
If you plan to remain connected to the electrical grid, coordinating with your utility company for grid connection and approvals is necessary. This step often requires professional inspections. - Potential Challenges
Challenges such as shading, roof condition, and structural limitations can affect the feasibility of a DIY installation. It’s important to assess these factors before proceeding. - Warranty Considerations
Installing solar panels yourself may impact equipment warranties. Some manufacturers require professional installation to maintain warranty coverage. Be sure to review warranty terms before embarking on a DIY project.
DIY vs. Professional Installation
While DIY installation offers cost savings, it’s not suitable for everyone. Professional installers bring expertise, experience, and warranties that can provide peace of mind. To decide between DIY and professional installation, consider your skills, budget, and the complexity of your project.
Conclusion
Embarking on a DIY solar panel project is a commendable journey towards renewable energy. Whether you choose to install solar panels yourself or seek professional assistance, the benefits of harnessing solar energy are substantial, including cost savings and reducing your carbon footprint.
As you plan your DIY installation, prioritize safety, compliance with regulations, and regular maintenance. Address challenges proactively and seek professional help when needed to ensure the efficiency and success of your solar system.