
Introduction to DIY Solar Panel Mounting
The shift towards renewable energy sources has led many homeowners and enthusiasts to embrace solar power. Among the key aspects of utilizing solar energy efficiently is the proper mounting and racking of solar panels. This section delves into the fundamentals of DIY solar panel mounting, offering insights into its significance, challenges, and the impact it has on the overall performance of a solar power system.
Understanding the Basics
Solar panel mounting is not just about securing the panels to a surface; it’s about optimizing their energy-absorbing efficiency. The orientation, angle, and location of the panels play a crucial role in how much solar power you can harness. For instance, panels installed in the Northern Hemisphere should ideally face south at an angle equal to the latitude to maximize sun exposure.
Importance of Proper Installation
A well-mounted solar panel not only ensures maximum efficiency but also contributes to the longevity of the system. Improper installation can lead to issues like roof damage, inefficient energy production, and increased maintenance costs. It’s crucial to understand that while DIY installations can be cost-effective, they require careful planning and execution to avoid common pitfalls.
Challenges in DIY Mounting
One of the main challenges in DIY solar panel mounting is ensuring that the installation adheres to local building codes and safety standards, including electrical grounding and proper load-bearing. Additionally, factors such as the type of roof, its load-bearing capacity, and the regional climate conditions play a significant role in determining the suitable mounting method.
The Impact on Energy Efficiency
The efficiency of a solar panel system is directly related to how well the panels are mounted. Factors like the angle of tilt, direction of the panels, and the absence of shading elements contribute significantly to the energy yield. For example, adjustable tilt mounts can optimize sunlight exposure during different seasons, thereby enhancing the system’s efficiency.
Types of Solar Panel Mounting Systems
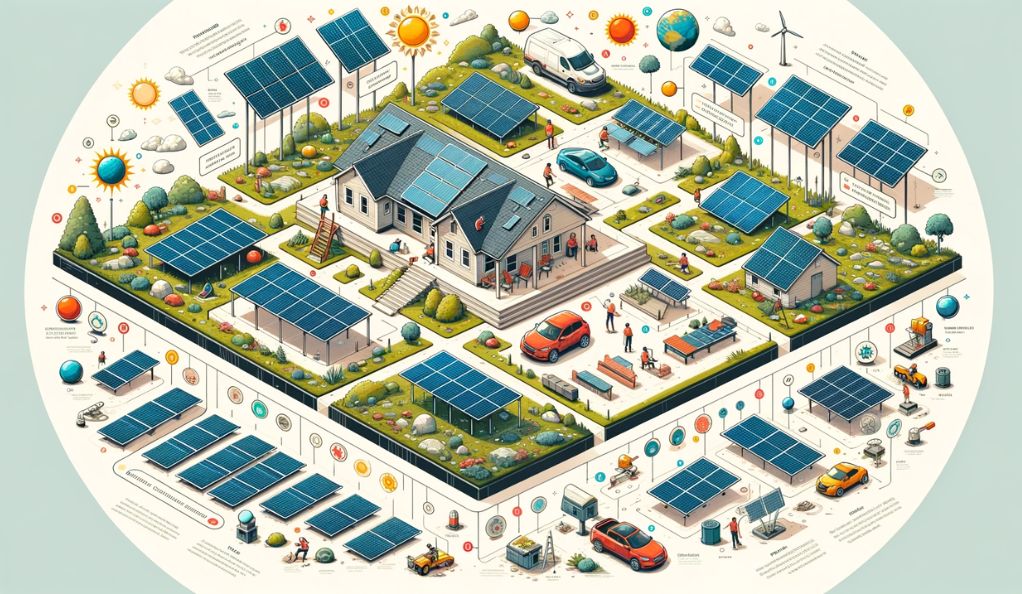
When it comes to solar panel mounting, there are three primary types to consider: roof-mounted, ground-mounted, and pole-mounted systems, each with its own set of advantages and suitability for various scenarios.
- Roof-Mounted Systems
Roof-mounted systems are popular due to their space efficiency and ease of installation. Fixed roof mounts, the most common type, are directly attached to the roof and are ideal for roofs with a moderate to steep pitch. They are economical but are limited by the roof’s angle. Roof ballasted mounts, suitable for flat roofs, rely on the weight of the panels and additional ballasts to stay in place, eliminating the need for roof penetrations. However, they require roofs with adequate load-bearing capacity. Adjustable tilt mounts are more complex; they allow for angle adjustment to maximize sunlight exposure, especially beneficial in areas with varying sun angles throughout the year. - Ground-Mounted Systems
Ground-mounted systems offer flexibility in installation location and are easier to access for maintenance. Standard ground mounts are fixed metal structures that hold panels at a static angle, ideal for spaces without shading issues. Pole mounts elevate panels on single poles, making them suitable for areas with shading issues or limited ground space. They offer the advantage of holding multiple panels with an adjustable tilt but require deeper foundations. Tracking mounts, an advanced option, automatically move the panels to follow the sun, thereby maximizing solar production. However, they are more expensive and complex, and they require regular maintenance. - Pole-Mounted Systems
Pole-mounted systems combine flexibility and adjustability, making them ideal for off-grid applications in remote areas. They facilitate easy maintenance and cleaning but require careful consideration of structural stability, sun exposure, and foundation requirements. These systems are versatile and can be installed in various locations, offering unique advantages for specific installation scenarios.
When choosing the right system, it’s important to consider factors such as the condition of your roof, land availability, energy needs, and budget. Understanding these nuances will help you make an informed decision best suited to your solar energy goals.
Essential Tools and Materials for Solar Panel Mounting
Embarking on a DIY solar panel installation requires not only an understanding of the different mounting systems but also the right set of tools and materials. This section provides a comprehensive overview of the essentials you’ll need for a successful installation.
Tools Checklist
Here’s a list of the primary tools you’ll need for mounting solar panels:
- Measuring Tape: Essential for precise measurements of the mounting area and solar panels.
- Drill and Drill Bits: A power drill is crucial for creating holes for mounting brackets and screws.
- Screwdrivers and Wrench Set: Needed for tightening bolts and screws during installation.
- Level: To ensure that the panels are installed perfectly horizontal or at the required angle.
- Wire Cutters and Strippers: For preparing and connecting electrical wires.
- Safety Gear: This includes gloves, safety glasses, and possibly a hard hat, especially when working at heights.
- Ladder: For roof installations, a sturdy ladder is a must.
- Stud Finder (for roof mounts): Useful for locating rafters when mounting on a roof.
- Angle Finder: This tool is particularly handy for setting the panels at the optimal angle for sun exposure.
- Conduit Bender: For managing the wiring and conduit installation if needed.
Materials Checklist
Your material requirements will vary depending on the type of mounting system you choose:
- Solar Panels: The core component of your installation.
- Mounting Brackets: Specific to your chosen mounting system (roof, ground, or pole).
- Rails or Racking System: To secure the solar panels in place.
- Bolts, Screws, and Nuts: For fastening the panels and mounting system.
- Metal or Plastic Conduit: For protecting electrical wiring.
- Grounding Clamps and Wires: Essential for electrical safety.
- Wire Connectors and Cables: For connecting the solar panels to the inverter and the electrical grid.
- Weatherproof Flashing (for roof mounts): To prevent water leakage around the mounts.
- Ballasts (for ballasted roof mounts): Weights to hold the system in place without drilling into the roof.
- Concrete (for ground and pole mounts): If constructing a foundation is necessary.
Step-by-Step Guide to Mounting Solar Panels
Mounting solar panels is a meticulous process that requires attention to detail for optimal performance and safety. This section provides a step-by-step guide to help you successfully install your solar panels, whether on the roof, ground, or a pole.
Step 1: Planning and Preparation
- Site Assessment: Evaluate the installation site for sun exposure, shading, and space. For roof mounts, check the roof’s condition and load-bearing capacity.
- Permitting: Ensure compliance with local building codes and obtain necessary permits.
- System Design: Plan your system layout, including the number and placement of panels.
Step 2: Assembling Mounting Hardware
- Install Mounting Brackets: Secure brackets to your roof, ground foundation, or pole. For roof installations, use a stud finder to locate rafters.
- Set Up Rails/Racking System: Attach the rails to the mounting brackets. Ensure they are level and aligned.
Step 3: Mounting the Solar Panels
- Place Panels on Rails: Carefully lift solar panels onto the rails and secure them using the provided clamps or bolts.
- Adjust for Optimal Angle: Use an angle finder to set the panels at the best tilt for your location (usually equal to your latitude).
Step 4: Electrical Connections
- Wiring Panels: Connect the solar panels to each other in series or parallel, depending on your system design.
- Grounding: Attach grounding wires to the racking system and panels for safety.
- Conduit Installation: Run electrical wires from the solar panels to the inverter using a conduit.
Step 5: Inverter Connection
- Install the Inverter: Connect the solar panel wires to the inverter, which converts the solar power into usable electricity for your home.
- Grid Connection: If applicable, connect the inverter to your home’s electrical panel and the grid.
Step 6: Finalizing Installation
- Inspection and Testing: Once installed, inspect the system for any loose connections or potential issues. Test the system to ensure it’s operational.
- Cleanup: Secure all wiring, clear any debris, and ensure the installation site is left tidy.
Step 7: Maintenance and Monitoring
- Regularly check the system for any loose connections, dirt, or debris on the panels.
- Monitor system performance to ensure it’s functioning as expected.
Safety First
Always prioritize safety when installing solar panels. Wear protective gear, use a sturdy ladder for roof installations, and ensure electrical connections are done correctly to avoid hazards. If you are not confident in handling electrical components, it is advisable to consult a professional.
Electrical Grounding and Safety Considerations
In any DIY solar panel installation, electrical grounding and safety are paramount. This section outlines essential safety measures and grounding techniques to ensure your solar power system operates safely and efficiently.
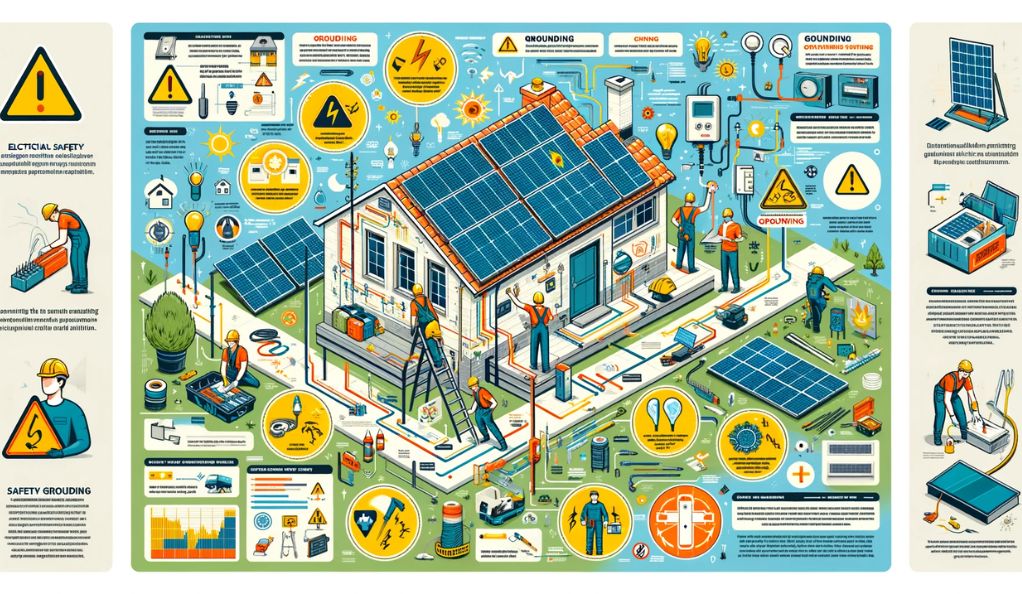
Understanding Electrical Grounding
Electrical grounding is a crucial safety feature in solar installations. It involves creating a direct physical connection to the earth, which provides a path for electrical current in case of a fault. This grounding helps protect against electric shock, equipment damage, and fire hazards.
- Grounding the Solar Panels and Racking System: Connect the frames of your solar panels and the racking system to a grounding rod buried in the earth. This ensures any stray current is safely diverted into the ground.
- Using Grounding Clamps and Wires: Utilize grounding clamps to attach grounding wires securely to the solar panel frames and the racking system. Ensure all connections are tight and corrosion-resistant.
- Complying with the National Electric Code (NEC): Follow the NEC guidelines, which require all solar power system equipment to be electrically bonded and grounded.
Safety Precautions
When working with electrical systems, especially on rooftops or outdoors, safety is critical. Here are some key safety measures:
- Turn Off Power: Before starting any installation work, ensure all power sources are turned off to prevent accidental electrocution.
- Wear Protective Gear: Use gloves, safety glasses, and sturdy footwear to protect against injuries.
- Use Insulated Tools: Tools used for electrical work should be insulated to prevent electric shocks.
- Avoid Working in Bad Weather: Do not install solar panels during rainy or windy conditions, as this increases the risk of accidents and equipment damage.
- Fire Safety: Keep fire extinguishers accessible, and be aware of your surroundings to prevent fire hazards.
Regular Inspection and Maintenance
Regular checks are essential for maintaining the safety and efficiency of your solar power system:
- Inspect for Corrosion and Loose Connections: Regularly check all grounding connections for signs of corrosion or looseness.
- Check for Wire Damage: Inspect wiring for any signs of wear, tear, or rodent damage.
- Ensure Clear Panel Surfaces: Keep solar panels clean and free of debris to prevent accidental shading and reduced efficiency.
Maintenance and Troubleshooting Common Issues
Maintaining your DIY solar panel system is essential for its longevity and efficiency. This section outlines key maintenance practices and how to troubleshoot common issues that may arise.
Regular Maintenance Checklist
- Panel Cleaning: Dust, debris, and bird droppings can reduce panel efficiency. Clean your panels regularly with a soft cloth or brush and mild detergent.
- Connection Checks: Inspect all electrical connections for signs of corrosion or looseness. Tighten any loose connections and replace corroded parts.
- Structural Inspection: Check the mounting system for any signs of wear, corrosion, or damage. Ensure all bolts and screws are tight.
- Monitoring System Performance: Keep an eye on your system’s output. A sudden drop in efficiency could indicate a problem.
- Vegetation Management: Trim any overhanging branches or bushes that may shade the panels.
Troubleshooting Common Issues
- Reduced Power Output: This could be due to dirty panels, shading, or a malfunctioning component. Clean your panels and check for any new shading issues. Use a multimeter to test individual components like inverters and controllers.
- Inverter Problems: If your inverter is showing error messages or not functioning correctly, refer to the user manual for specific troubleshooting steps. Often, resetting the inverter can resolve issues.
- Loose Connections: Check all wiring connections, as loose connections can cause power losses and safety hazards. Tighten any loose connections and replace damaged wires.
- Corrosion: Inspect for any signs of corrosion, especially in coastal areas where salt mist can be a problem. Replace corroded components and consider
Preventive Measures
- Use Protective Covers: For wiring and connections, use protective covers to shield them from environmental factors.
- Scheduled Inspections: Set a regular schedule for maintenance checks. Seasonal checks are recommended to prepare for varying weather conditions.
- Keep Records: Maintain a log of all maintenance activities, including inspections, cleaning, and replacements. This can be helpful for troubleshooting future issues and for warranty claims.
Professional Assistance
While many maintenance and troubleshooting tasks can be handled on a DIY basis, certain issues may require professional expertise, especially when it comes to electrical components and structural integrity. Don’t hesitate to contact a professional if you encounter complex problems or if the system’s performance declines significantly.
Conclusion
Embarking on a DIY solar panel project is more than just a technical undertaking; it’s a step towards environmental sustainability and energy independence. This guide has navigated through the essentials of solar panel installation, from choosing the right mounting system and gathering necessary tools to understanding the installation process, safety measures, and maintenance requirements.
The journey into DIY solar installation is empowering. It offers financial benefits such as cost savings on energy bills and increased property value, alongside the satisfaction of self-reliance. Customizing your solar system to fit your specific needs optimizes energy production, while the skills gained in installation and maintenance ensure the longevity of your investment.