
Introduction to DIY Solar Installations
Embarking on a DIY solar panel installation can be both an exciting and challenging endeavor. It’s a step towards sustainability and energy independence. However, it’s crucial to approach this task with a thorough understanding of both the technical aspects and the safety measures involved.
Understanding DIY Solar Power Systems
Solar power systems, at their core, consist of solar panels, inverters, batteries, and wiring. Each component plays a vital role in converting sunlight into usable electricity and ensuring that this energy is safely and efficiently distributed within your home. For DIY enthusiasts, it’s essential to grasp the basics of how these components interact and the safety standards required for each.
The solar panels, usually mounted on the roof or on a ground frame, absorb sunlight and convert it into direct current (DC) electricity. This DC electricity is then passed through an inverter to convert it into alternating current (AC), which is the form of electricity used in homes. The system may include batteries for energy storage, allowing for power use when the sun isn’t shining.
Importance of Understanding Electrical Safety
Electrical safety is paramount in DIY solar installations. The process involves handling high-voltage equipment and requires adherence to specific safety protocols to prevent accidents such as electrocution or fire. Understanding the National Electrical Code (NEC) requirements, local building codes, and proper safety practices is critical.
Safety begins with proper planning. This includes ensuring that all components are compatible and meet the required safety standards, and that your home’s electrical system can integrate with the solar setup. It’s also important to consider the physical safety aspects, like working at heights during the installation of rooftop panels.
Tools and Materials for Solar Wiring
For a successful DIY solar installation, having the right tools and materials is essential. This section outlines the essential items you’ll need and explains their use in the installation process.
Essential Tools for DIY Solar Installation
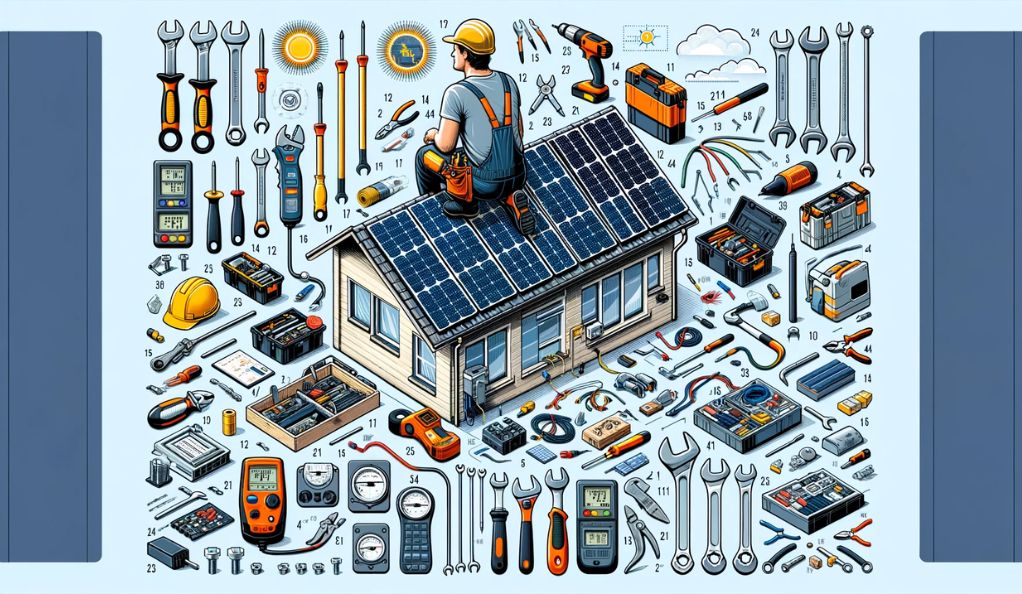
The right tools not only make the installation process smoother but also ensure safety. Here’s a list of the essential tools you should have:
- Hand Tools and Supplies: This includes screwdrivers, pliers, wire strippers, and wrenches. These tools are fundamental for handling various components during the installation.
- Measuring Tools: A tape measure is essential for accurately placing panels and components. Also, a stud finder can be crucial for roof installations to locate rafters.
- Safety Equipment: Safety glasses, work gloves, and a hard hat protect against physical injuries. If working on a roof, a harness and lanyard are necessary for fall protection.
- Power Drill/Driver: Essential for drilling holes and driving screws, especially when mounting panels and racking systems.
- Caulk Gun: Used for applying sealant, which is crucial in preventing leaks, especially in roof installations.
- Ladder: A sturdy ladder is necessary for roof installations.
- Multimeter: For checking electrical connections, voltage, and current, a multimeter is an indispensable tool.
Materials Required for Solar Wiring
Besides the tools, certain materials are crucial for the wiring aspect of your solar installation:
- Solar Panels: The primary component that captures sunlight and converts it to electricity.
- Inverters: Convert DC electricity from the panels into AC electricity for home use.
- Mounting and Racking System: Used to securely mount the solar panels either on the ground or the roof.
- Electrical Wiring: Essential for connecting solar panels, inverters, and your home electrical system. The wiring diagram provided with your kit will specify the size and type of wire needed.
- Conduit and Fittings: Protects the wiring from environmental factors and potential damage. The National Electric Code (NEC) specifies the types of conduit required for solar installations.
- Junction Boxes: Used for connecting wires and must meet the voltage and amperage requirements of your solar system.
- AC/DC Disconnects: Safety devices that allow for the solar system to be disconnected from the home’s electrical system for maintenance or emergencies.
- Battery Storage (optional): If your system includes battery storage, ensure that it aligns with the specifications of your solar setup.
- Breakers and Subpanels: Necessary for integrating the solar system into your home’s electrical system.
- Safety Labels and Placards: Required for inspection and safety purposes, these labels provide essential information about the solar system.
Understanding Solar Panel Wiring Basics
The correct wiring of solar panels is a critical aspect of any DIY solar installation. This section aims to provide a comprehensive guide to the basics of solar panel wiring, ensuring both efficiency and safety.
Wiring Configurations for Solar Panels
There are three primary ways to wire solar panels: in series, in parallel, and a combination of both (series-parallel). Each configuration has its unique implications for the voltage and current in your system.
Wiring Solar Panels in Series
- This involves connecting the positive terminal of one panel to the negative terminal of the next.
- The voltage of each panel adds up, but the current remains the same as that of a single panel.
- Series wiring is beneficial when dealing with high-voltage inverters or long wire runs.
Wiring Solar Panels in Parallel
- In this configuration, the positive terminals are connected together, and the negative terminals are also linked together.
- Parallel wiring keeps the voltage the same as a single panel but adds the currents of each panel.
- This setup is ideal for systems with lower voltage inverters and reduces the impact of shading on the overall system performance.
Series-Parallel Wiring
- A combination of series and parallel wiring is used to match the voltage and current requirements of the solar system.
- It involves creating several strings of panels wired in series and then connecting these strings in parallel.
- This configuration is often used in larger installations to balance voltage and current, optimizing the system’s performance.
Safety and Technical Considerations in Solar Wiring
Compliance with Electrical Standards
- Adherence to the National Electric Code (NEC) and local building codes is non-negotiable.
- Ensure that the wiring and components meet the required specifications for safety and efficiency.
Maximum Voltage and Current Limits
- Be aware of the maximum voltage and current limits of your system, especially in relation to the inverter’s specifications.
- Exceeding these limits can lead to safety hazards and reduce the efficiency of your solar installation.
Use of Proper Connectors and Cables
- Utilize the correct type of connectors (like MC4 connectors) and ensure that cables are of adequate size and type.
- This not only ensures safety but also reduces the loss of power due to resistance in the cables.
Grounding and Protection Against Surges
- Proper grounding is essential to protect against electrical surges and lightning strikes.
- Surge protectors can also be installed to safeguard the system against voltage spikes.
Inspection and Testing
- Once the wiring is complete, a thorough inspection and testing of the system should be done.
- Use a multimeter to check for correct voltages and ensure all connections are secure and properly insulated.
By understanding and applying these wiring basics, DIY solar installers can ensure their system is safe and efficient. Remember, while DIY projects can be rewarding, the complexity and risks associated with solar installations require careful planning and adherence to safety standards. If in doubt, consult with a professional.
Installation Safety: Protecting Yourself and Your Home
Ensuring safety during a DIY solar panel system installation is crucial. It involves a range of protective measures for both the individual and the home.
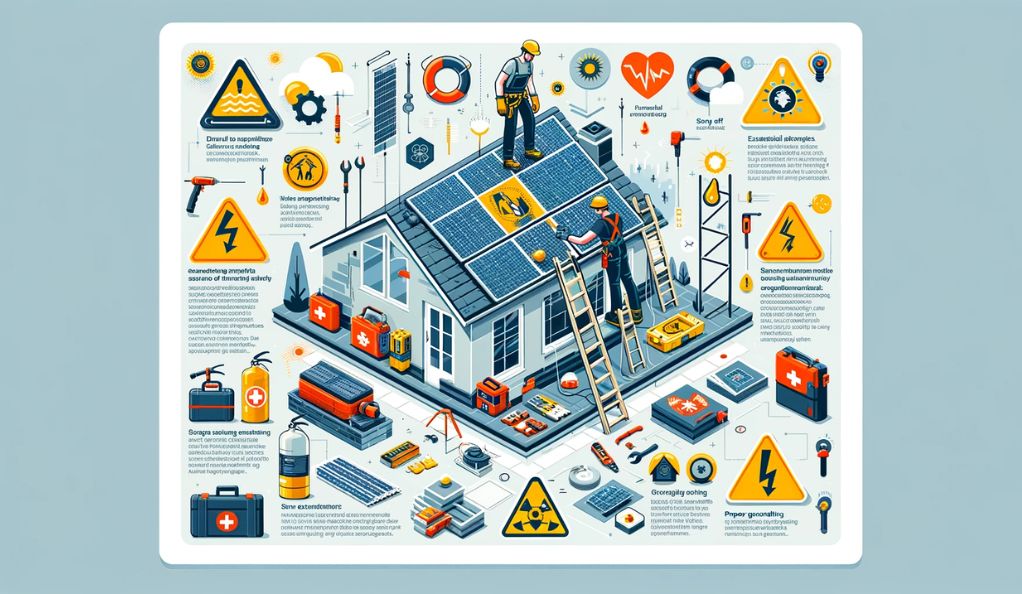
Personal Safety Measures
Personal safety during installation hinges on the use of appropriate Personal Protective Equipment (PPE). This includes wearing safety glasses to protect against debris, gloves to prevent cuts, and a hard hat for protection under hazardous conditions. When working at heights, such as on rooftops, a full-body harness is essential. Ladder safety is also paramount; the ladder should be stable and secure, with someone spotting you during work at significant heights. Electrical safety is critical, necessitating the turning off of power before working on electrical systems, using insulated tools, and being aware that solar panels can generate power even when not connected to the grid. It’s also important to maintain awareness of your surroundings to prevent accidents, especially when working on roofs.
Home Safety Considerations
From a home safety perspective, fire safety is a key concern. This involves ensuring proper spacing and ventilation around solar panels and keeping a fire extinguisher accessible. Understanding and managing the electrical load of your home is vital to prevent overloading and potential fires. It’s also crucial to ensure the structural integrity of your installation site, particularly the roof, to support the weight of solar panels and equipment. Compliance with local building and electrical codes, including obtaining necessary permits and inspections, is essential. Lastly, even for DIY enthusiasts, consulting with a professional can help identify potential hazards and provide expert guidance on installation and safety best practices.
Electrical Safety: Dos and Don’ts
Electrical safety is pivotal in DIY solar installations. A thorough understanding of electrical safety practices not only ensures personal safety but also the effective functioning and durability of the solar system.
Understanding Electrical Components and Hazards
It’s vital to have a foundational grasp of electrical concepts such as voltage, current, and resistance, and how they apply to your solar system. Knowing the function of each component, including solar panels, inverters, and batteries, is essential. Recognizing potential hazards like electric shock, short circuits, and fire risks associated with solar installations is equally important.
Best Practices for Handling Electrical Components
When it comes to wiring, following recommended practices is crucial. This involves ensuring all connections are secure and properly insulated to prevent short circuits. Selecting the correct wire gauge based on your system’s current and voltage is essential to prevent overheating and potential fire hazards. Regular inspection and maintenance of the solar system are necessary to identify and rectify issues like loose connections, frayed wires, or damaged insulation.
Safety Measures to Prevent Accidents
Before performing any work on the system, it’s crucial to isolate all power sources, including disconnecting from the grid and any batteries. Using insulated gloves and tools can significantly reduce the risk of electric shock. Keeping electrical components dry is essential to avoid short circuits and electric shock. Moreover, fire safety measures such as installing smoke detectors near the solar system and having a fire extinguisher readily available are critical, especially if the system includes batteries. Staying informed and trained on the latest safety standards and installation techniques is highly recommended, and courses in solar installation or electrical safety can be very beneficial for those new to this field.
Battery Safety and Storage Considerations
In the realm of DIY solar installations, incorporating batteries for energy storage introduces specific safety considerations, particularly when dealing with lithium-ion types like LiFePO4. It’s essential to understand these for maintaining a safe and efficient solar power system.
Types of Batteries and Their Safety Features
LiFePO4 batteries are often favored for home installations, offering a higher safety margin and reduced fire risk compared to traditional lithium-ion batteries. They are less susceptible to thermal runaway and boast a longer life cycle. Alternatively, lead-acid batteries, while more common in older or budget systems, are bulkier and necessitate routine maintenance. They should be housed in well-ventilated areas because of gas emissions during charging.
Best Practices for Battery Charging and Maintenance
Ensuring proper installation of batteries, preferably by certified professionals, is critical. This includes setting up adequate ventilation and temperature controls to mitigate overheating and fire risks. Regular maintenance checks are essential, especially for lead-acid batteries, to monitor water levels and terminal conditions. Safe storage is another crucial aspect, with a preference for dedicated, ventilated spaces outside living areas. Additionally, overcharging presents significant risks, making the use of a proper charge controller vital to maintain battery health and safety.
Understanding the Risks of Battery Failures
The risks associated with batteries, such as thermal runaway in lithium-ion batteries, which can lead to overheating and fires, are significant. While LiFePO4 batteries are generally safer, no lithium battery is entirely without risk. Lead-acid batteries pose their own hazards, including gas emissions that can be explosive if not properly ventilated. Electrical hazards from incorrect installation, such as short circuits, also need to be conscientiously avoided.
Emergency Procedures for Battery Issues
Having a fire extinguisher readily accessible near the battery storage area is a crucial safety measure. Knowing the appropriate emergency response steps, including how to safely disconnect and neutralize a malfunctioning battery, is essential for dealing with battery failures.
Conclusion
Embarking on a DIY solar installation journey brings a mix of excitement and responsibility. Thorough preparation, understanding solar system components, and grasping electrical safety principles are fundamental. Safety, in its various facets, is paramount and non-negotiable. This includes personal safety measures, electrical safety protocols, and ensuring safe battery storage and handling. Familiarity with local building codes, electrical standards, and staying updated with solar technology enhances the installation’s quality and compliance. Remember, a solar system requires ongoing maintenance and monitoring for long-term health and efficiency. And while DIY projects are rewarding, don’t hesitate to seek professional advice or assistance when needed. This balanced approach ensures a successful and fulfilling DIY solar installation experience.