
Introduction to DIY Solar Installation
In an era where renewable energy is gaining prominence, DIY solar installation is becoming an increasingly popular choice for homeowners. This approach is not only environmentally friendly but also cost-effective, offering significant savings on electricity bills and potentially increasing property value. While professional installation remains an option, many are opting for the DIY route, drawn by the reduced costs and the satisfaction of hands-on involvement in enhancing their home’s energy efficiency.
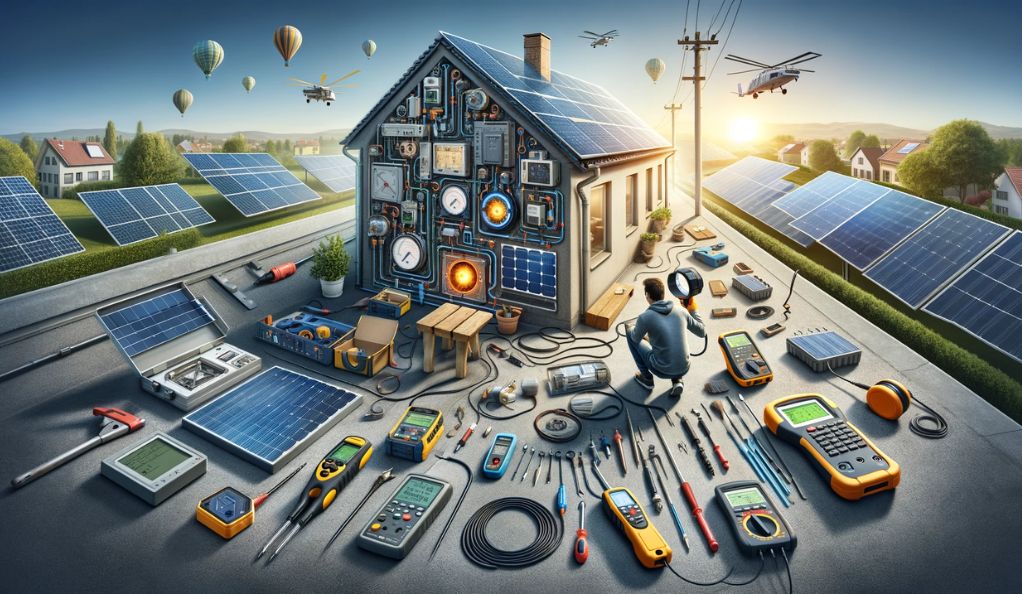
However, embarking on a DIY solar installation requires more than just enthusiasm. It demands specific tools and a thorough understanding of the process. The right tools are crucial for ensuring the safety, efficiency, and longevity of the solar setup. From basic drills and screwdrivers to sophisticated digital multimeters and solar panel hangers, each tool plays a crucial role in the installation.
Essential Tools for Solar Panel Installation
To embark on a DIY solar panel installation, it’s crucial to arm yourself with the right tools. These tools not only simplify the installation process but also ensure safety and effectiveness. Here’s a breakdown of the essential tools you’ll need, each serving a specific purpose in the installation process.
- Digital Multimeter: A digital multimeter is indispensable for any electrical work, including solar panel installations. It’s used to check the quality of your connections, ensure no live wires are present, and troubleshoot wiring issues. This multifunctional tool combines the capabilities of an ohmmeter, voltmeter, and ammeter, making it an essential gadget for maintaining and repairing solar panels.
- Battery Operated Drill: When it comes to mounting solar panels, a battery-operated drill is your best friend. It’s not only portable but also powerful enough to handle the drilling required for mounting brackets and racking systems. Compared to corded drills, it offers greater efficiency and ease of use, especially in rooftop scenarios.
- Power Saw: Cutting mounting rails to the correct size is a critical step in solar panel installation. A power saw, preferably a portable band saw, is ideal for this task. It provides the control needed to make precise cuts without damaging the roof or the panels.
- Screwdrivers (Flathead and Phillips-head): These are used for various tasks like screwing in mounting hardware. A set of reliable screwdrivers is essential, though in some cases, a power drill with appropriate bits can serve a similar purpose.
- Measuring Tools: Precision is key in solar installation. Essential measuring tools include a level, measuring tape, chalk line, and a metal square. They ensure that your installation is square, level, and correctly aligned.
- Hack Saw: For cutting solar mounting rails to size, a hack saw is an ideal tool. It’s easy to use, affordable, and can be utilized for other DIY projects.
- Conduit Bender: Solar installations often require working with electrical systems protected by conduits. A conduit bender is useful for customizing these pathways, especially in areas that require a specific bend.
- Solar Panel Hanger: This newer tool in the market helps in positioning and holding solar panels during installation. It reduces the risk of panel damage and makes the process more efficient.
- Caulking Gun: Used for applying roof sealant, this tool is vital for preventing leaks after drilling holes for mounting racks and panels.
- Safety Gear (Ladder, Gloves, Protective Eyewear): Safety should never be an afterthought. A sturdy ladder, gloves, and protective eyewear are essential to protect against accidents and injuries.
Advanced Equipment for Efficient Installation
While basic tools are essential for any DIY solar installation, advanced equipment can significantly enhance efficiency and accuracy. These tools, although not mandatory, can elevate a DIY project from good to professional-grade. Let’s explore some of these advanced tools and their roles in solar panel installation:
- Solar Clamp Meter: This tool is particularly useful for verifying the presence of AC/DC load current, voltage, and continuity in the solar panel system. A solar clamp meter is crucial for safely measuring electrical outputs in combiner boxes, inverters, and disconnects.
- Solar Irradiance Meter: An irradiance meter measures the solar output, which is vital for calculating the overall energy efficiency and optimal placement of solar panels. This tool helps in maximizing the energy production of your solar setup by ensuring panels are positioned to receive maximum sunlight.
- Insulation Resistance Tester: For any electrical installation, including solar panels, testing insulation resistance is essential. This tool helps in identifying potential electrical hazards and ensuring the safety and longevity of your solar system.
- Infrared Camera: An infrared camera is used to detect hot spots in electrical panels and connections. It’s a key tool for preventive maintenance, helping you spot potential issues before they become major problems.
- Ground Resistance Tester: This tool verifies that your solar panel system’s grounding meets safety standards. A ground resistance tester is essential for ensuring that your solar installation is safe and compliant with local electrical codes.
- Battery Analyzer: If your solar system includes a battery backup, a battery analyzer is critical. It assesses the health and performance of your batteries, ensuring they are functioning optimally and safely.
- Data Logger: For tracking and analyzing the performance of your solar system, a data logger is invaluable. It records various parameters like voltage, current, and temperature over time, providing insights into the efficiency and health of your solar panels.
Measuring and Marking Tools
In DIY solar panel installation, the precision offered by measuring and marking tools is vital. The measuring tape is the cornerstone of all installations, used for assessing the dimensions of the solar panel area and spacing. It’s complemented by a level, which ensures that panels are installed flat and even, critical for optimal efficiency. The chalk line comes in handy for creating long, straight lines, aiding in the alignment of multiple solar panels. This alignment is not just for aesthetics but also ensures functional efficiency.
Further enhancing precision, the metal square is a go-to tool for verifying right angles, particularly important when setting up mounting frames. For larger installations, a laser distance measurer can be a game-changer, offering quick and highly accurate distance measurements. An inclinometer measures the slope or tilt of the roof, a factor that can greatly impact solar panel efficiency. Lastly, the digital angle finder is instrumental in determining the most effective angle for sunlight exposure, a crucial aspect for maximizing solar energy capture.
Safety Equipment for Installation
Safety is a paramount concern in DIY solar panel installation. The process often involves working at heights and handling electrical components, making it essential to use proper safety equipment. This equipment not only protects you from potential hazards but also ensures a smooth and accident-free installation process. Here are key safety items you should consider:
- High-Quality Ladder: A sturdy, reliable ladder is essential for rooftop installations. Ensure it’s suitable for the height of your roof and is in good condition. Always adhere to safety guidelines when using a ladder, such as maintaining a 3-point contact (two hands and one foot, or two feet and one hand) at all times.
- Safety Harness: If your installation involves working on a steep or high roof, a safety harness is a must. It provides an extra level of security against falls, which are among the most serious risks in solar panel installation.
- Protective Eyewear: When drilling, sawing, or working under bright sunlight, protective eyewear is necessary to safeguard your eyes from debris and UV radiation.
- Gloves: Durable gloves protect your hands from cuts, abrasions, and burns while handling solar panels, tools, and electrical components.
- Non-Slip Shoes: Roof installations can be slippery. Wear shoes with a good grip to prevent slips and falls.
- Ear Protection: If you are using loud power tools, ear protection is important to safeguard your hearing.
- Dust Mask or Respirator: When cutting materials or if you’re sensitive to dust, a mask or respirator is important for respiratory protection.
- First Aid Kit: Always have a basic first aid kit nearby in case of minor injuries.
- Fire Extinguisher: Keep a fire extinguisher accessible, especially when working with electrical components.
- Sun Protection: Don’t forget sun protection, such as sunscreen and a hat, as you’ll likely be working outdoors for extended periods.
Maintenance and Troubleshooting Tools
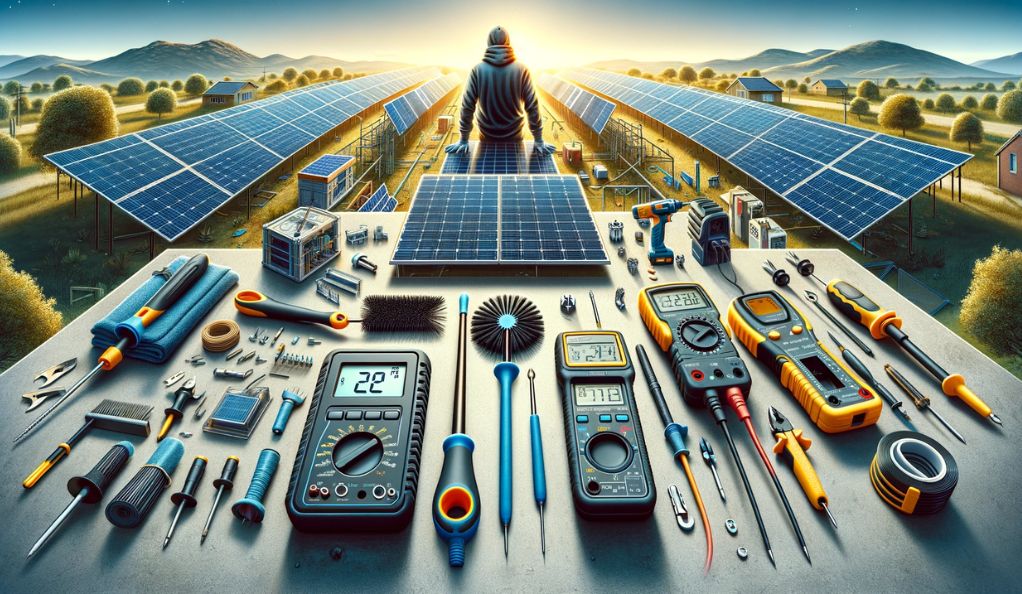
Effective maintenance and troubleshooting are crucial for the longevity and efficiency of your DIY solar installation. A well-maintained solar system not only performs better but also reduces the risk of costly repairs in the long run. Here’s a list of essential tools for maintaining and troubleshooting your solar panels:
- Wire Strippers and Crimpers: Essential for making adjustments or repairs to the wiring of your solar system. Wire strippers are used for removing insulation from electrical wires, while crimpers are used for joining metal pieces by deforming one or both of them to hold each other.
- Torque Wrench with Deep Sockets: Ensures that all bolts and nuts in the solar panel system are tightened to the correct specification. This is vital for the structural integrity and safety of the installation.
- Cable Cutters: For cutting wires to the right length, ensuring a clean and safe installation. They come in various sizes, so choose one that suits the gauge of wire used in your solar system.
- Voltage Tester: A simple yet vital tool for ensuring there is no live voltage in the system while performing maintenance or repairs.
- Multimeter: Beyond installation, a multimeter is invaluable for routine checks and troubleshooting. It can measure voltage, current, and resistance, which are critical for diagnosing issues in the solar panel system.
- Solar Panel Cleaning Kit: Includes a soft brush and squeegee for cleaning the surface of solar panels. Regular cleaning is necessary to maintain optimal performance, as dirt and debris can significantly reduce efficiency.
- Insulation Resistance Tester: For checking the integrity of insulation in electrical wires and components. This is important for preventing short circuits and other electrical issues.
- Thermal Imaging Camera: Useful for detecting hot spots in solar panels and electrical connections, indicating potential problems like electrical faults or poor connections.
- Safety Equipment: Always use gloves, protective eyewear, and other safety gear while performing maintenance to protect yourself from potential hazards.
Understanding Solar Panel Mounting and Racking
Proper mounting and racking of solar panels are essential for the stability and efficiency of your DIY solar installation. The choice of mounting and racking systems depends on various factors like roof type, panel size, and environmental conditions. Here are some key considerations and tools involved in solar panel mounting and racking:
- Mounting Brackets: These are used to secure the solar panels to your roof or ground mounting system. The type of bracket varies based on the installation surface and the angle required for optimal solar exposure.
- Racking System: The racking system holds the solar panels in place. There are different types of racking systems suited for various roof types (e.g., pitched, flat) and installation styles (e.g., ground mount, pole mount).
- Bolts and Fasteners: Quality bolts and fasteners are crucial for a secure installation. They must be suited to the material of your roof or ground system to ensure a lasting and safe installation.
- Roof Anchors: For rooftop installations, roof anchors provide a secure point to attach the racking system. The choice of anchors depends on the roofing material and structure.
- Adjustable Tilt Legs: These are used in ground-mounted systems to adjust the angle of the solar panels. The tilt angle is crucial for maximizing solar energy absorption, especially in areas with varying sun angles throughout the year.
- Sealing and Waterproofing Materials: When installing solar panels on a roof, it’s essential to use proper sealing and waterproofing materials to prevent leaks. This includes sealants and flashing that are compatible with your roofing material.
- Tools for Mounting and Racking: You will need a range of tools for the installation of mounting and racking systems, including a drill, wrenches, and possibly a saw for cutting racking to size.
Conclusion
DIY solar installation is a rewarding endeavor that combines sustainable energy with self-sufficiency. This guide has outlined the crucial tools and equipment needed for a successful installation, emphasizing the importance of proper planning, safety measures, and regular maintenance. While the process can be challenging, the right approach and tools will ensure your solar panels function efficiently for years. For more detailed information and guidance, refer to expert resources such as Unbound Solar, GoGreenSolar, and others, which offer in-depth advice for DIY solar projects.